
LSX Workshop Tools | Engine Builder Must Have's!
Posted by Beau on 14th Dec 2019
As we all know it is coming to the time of the year when we all start looking forward to the holidays.
But what does this time off really mean?..... Quality time in the garage upgrading the beast!
Whether you have purchased one of our LSX Camshaft Packages or Rotating Assemblies or just doing some maintenance we all know that the most important thing when working on your car is having the correct tools for the job. LSX now offer a range of the same LS engine assembly tools that we use to make installing your new upgrades a breeze.
Some of our most popular packages DIY packages can easily be upgraded using these tools which will save you significant amounts of time & money in labour.
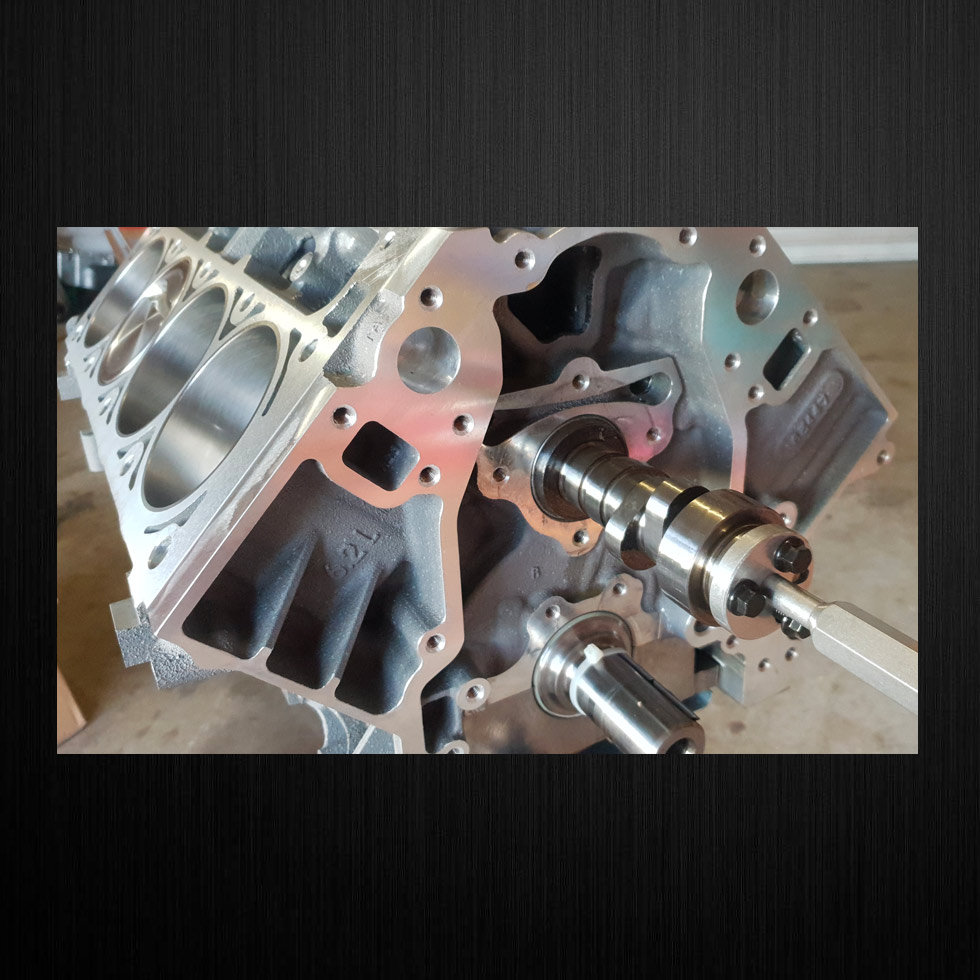
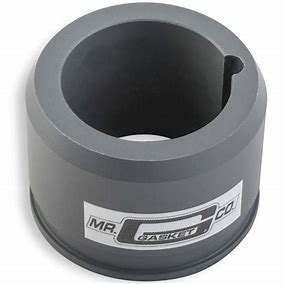
Our LSX Camshaft Installation Tool Kit (pictured above)is a serious must have when it comes to doing a cam swap.
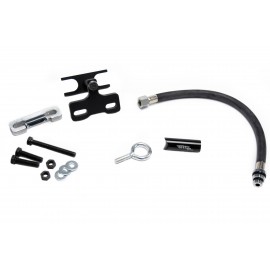
This kit allows you to change the valve springs with an adjustable spring compressor tool without needing to remove the cylinder heads. The pneumatic hose kit simply works by using a compressor to fill the cylinder with air through the spark plug hole to prevent the valve dropping when the spring is removed. That Valve Spring upgrade now takes 20mins. It even features the valve seal install tool to ensure perfect installation of the valve stem seal without the use of the old hammer and socket like the "ol' mate backyard engine builder" method which can easily damage the seal.
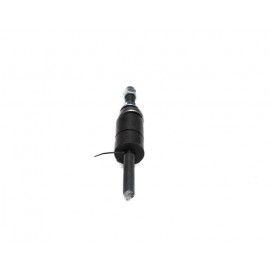
Another handy tool to have is the LSX Camshaft Installation Handle.
When installing a camshaft into the motor it is critical to ensure you align the cam journals perfectly with the bearings to prevent damaging a cam bearing which would result in the motor coming out!
The key to this is ensuring you have good leverage on the camshaft when sliding it into the motor. Without the use of a lever you start to lose that leverage due to the weight of the cam once it gets 3/4's of the way into the motor. In steps the LSX Camshaft Installation Handle! This bolts onto the camshaft using the x3 cam bolts to ensure perfect alignment and leverage when installing the cam. You now have all the leverage you need thanks to the 6" inch billet camshaft installation handle.
So, now your camshaft is dialled in, valve springs have been changed and you're on the home straight.
A simple check that should always be done no matter how small or large the changes are is to check correct pushrod length. Making simple changes such as a cam swap, changing lifters or even going further into the build such as stepping up to ported heads can all effect the pushrod geometry which can cause serious issues if not calculated correctly.
Although majority of camshaft packages come with a set of pushrods at the standard 7.400" length which covers 80% of applicaitons it does not mean that the length shouldn't be measured to ensure two important factors are correct.
1. Lifter Preload. As LS engines don't come standard with adjustable rockers the pushrod is used to set lifter pre load.
Each lifter manufacturer will specify the recommended preload based on lifter travel. Too much or too little preload can cause failure of the lifter or valvetrain.
2. PTV Clearance. Having a pushrod too long can cause catastrophic issues on bottom end as it can cause the valve to hit a piston which means you'll be back on the tools in no time! Motors with valve reliefs in the pistons may not suffer from this due to additional clearance however it can still cause issues with the valve seating or staying open in extreme circumstances. Either way it's not good!
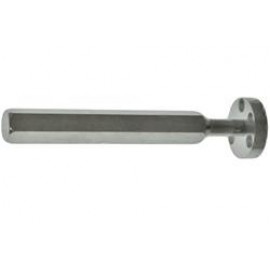
A simple way to eliminate these headaches is a simple tool which is the LSX Pushrod Length Checker Tool. This adjustable pushrod has a thread on the top end which can be adjusted from 6.800" to 7.800" in .050" increments per each rotation. This will make life easy as you calculate the desired pushrod length which gives to correct preload and you use that size pushrod. (Note: do not rotate the engine over with the adjustable tool in the rocker as it is designed to check clearance not run the engine)
Now we're ready to put everything back together the next two tools are going to save you a tonne of time and frustration.
The LSX Timing Cover Alignment Tool is a great way of ensuring perfect alignment of the front timing cover.
The front timing cover can be a little tricky to align by eye when doing it in the car as you may not know the alignment is off until the crank seal decides to leak when the car is running and we all know what that means.... Harmonic Balancer is coming off. The LSX timing cover alignment tool simply slides over the crank snout and using the keyway guides the slightly loose timing cover into the perfect location. Simply tighten the timing cover bolts & front sump bolts, slide the alignment tool out and you're onto the next job with no fear of potential leaks.
The next step is installing the balancer. Now before you reach for that old balancer bolt thinking you can line it up & a few ugga duggas will send her home. Remember this... The OEM Harmonic Balancer bolt is TTY (torque to yield) this means that it gets stretched into place when it is torqued on upon installation. Now "ol' mate backyard engine builder" from earlier may tell you that this will be fine and he's done it 100's of times but reality is you are x1 bolt away from two scenarios.
1. Installing the balancer properly with the correct tool for the job, firing up the beast and listening to the sweet orchestra of horsepowers singing out of the exhaust.
OR..
2. Pulling the motor out because you felt brave & decided to risk it, reached for that rattle gun & screamed out a semi inspirational John McClane Die Hard quote while using the old bolt attempting to send it home only to find that you now have a broken bolt in the crankshaft.
Heartbreaking right!? This is why there is always a tool for every job. The Harmonic Balancer Installation Tool is designed specifically for the job. The simple combination of a high tensile thread, spacers and the right washer/nut combination means that you eliminate this possibility. These can definitely be made yourself using the right items or you can simply purchase one with your new upgrades.
Now your cam swap/engine assembly is done & it's time to spend your holidays on the road enjoying your new mods instead of in the garage because you don't have the right tools to get the job done.
Want to see more of our Workshop Tools? Simply click the link & check out the range.
Want a recommendation for a Christmas movie? Well.. Turns out Die Hard happens to be a Christmas movie too.
"Happy Trails".....